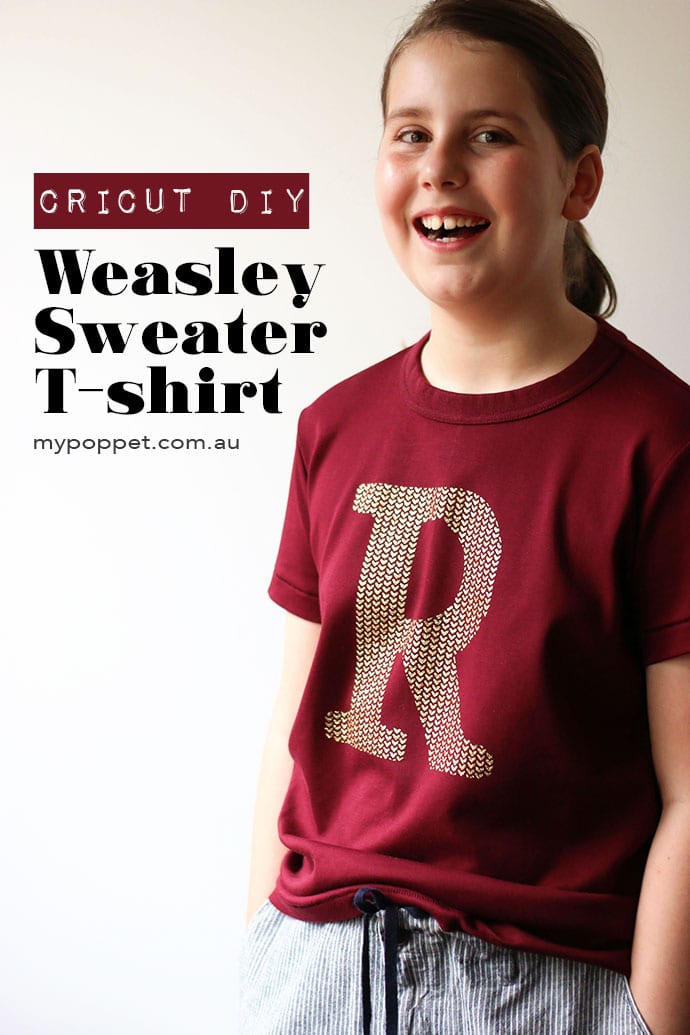
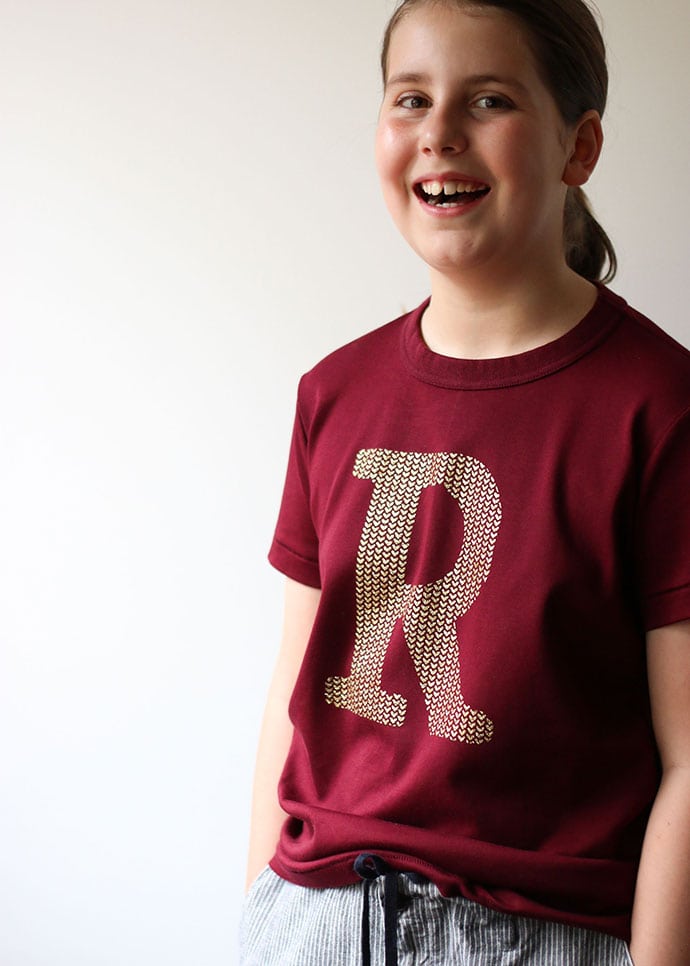
Now every Harry Potter fan can have their own initial on a Weasley Sweater inspired T-shirt. It’s super easy to make and no knitting required!
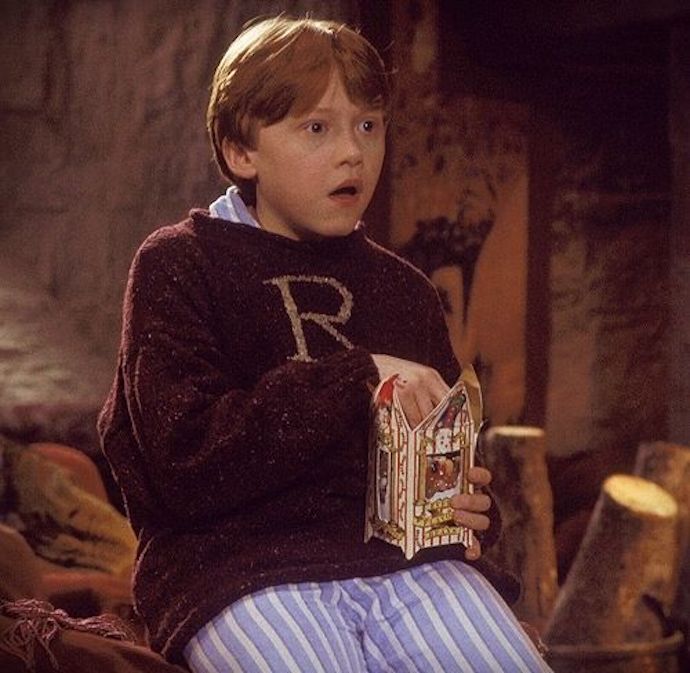
Hands up if you’ve ever wanted your own personalized Weasley Jumper, just like the one knit for Ron and Harry by Mrs Weasley as a Christmas gift.
This Etsy seller custom knits Weasley Sweaters to order, or you can knit your own using this Weasley jumper pattern.
I’d been thinking about knitting one for Emma for a while now, but unfortunately never really found the time. So when I found this maroon t-shirt while shopping at my local thrift store, I had a light bulb moment.
Forget knitting! I could just iron-on on a letter to make a Weasley Sweater inspired T-shirt. We are coming into Summer here, so it’s perfect Weasley T-shirt weather.
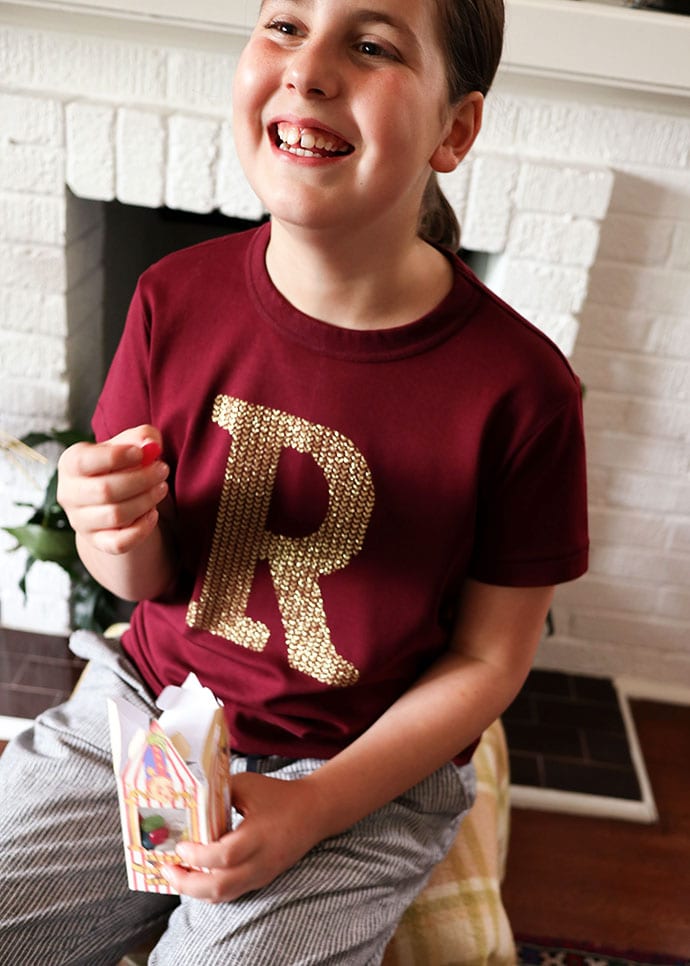
Emma is a huge Harry Potter fan, so she loved this cute t-shirt that she could wear year round, not just for Halloween or Cosplay.
Check out the Harry Potter Birthday Party I threw for her a couple of years ago.
Easy Ron Weasley Costume Idea
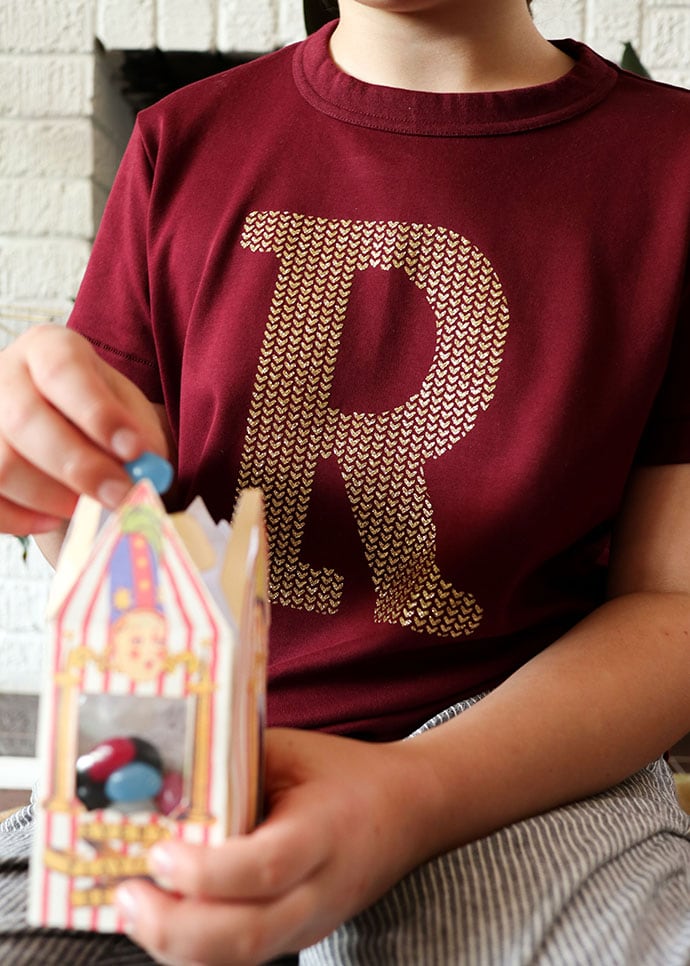
This project would make an easy Ron Weasley costume. Just add some pajama pants and a box of Bertie Bott’s Every Flavour Beans and you’ve got yourself a fun Halloween Costume or Ron Weasley Cosplay.
Add some red hair for an authentic Weasley look!
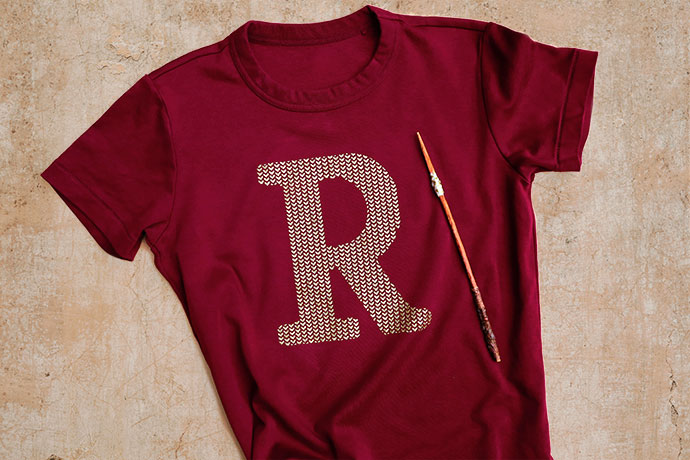
Don’t forget Ron’s broken wand. Make you own Harry Potter inspired wands with our instructions, then add some tape around one just like Ron did in his unsuccessful attempt to fix his fractured wand.
More Harry Potter Costume Ideas:

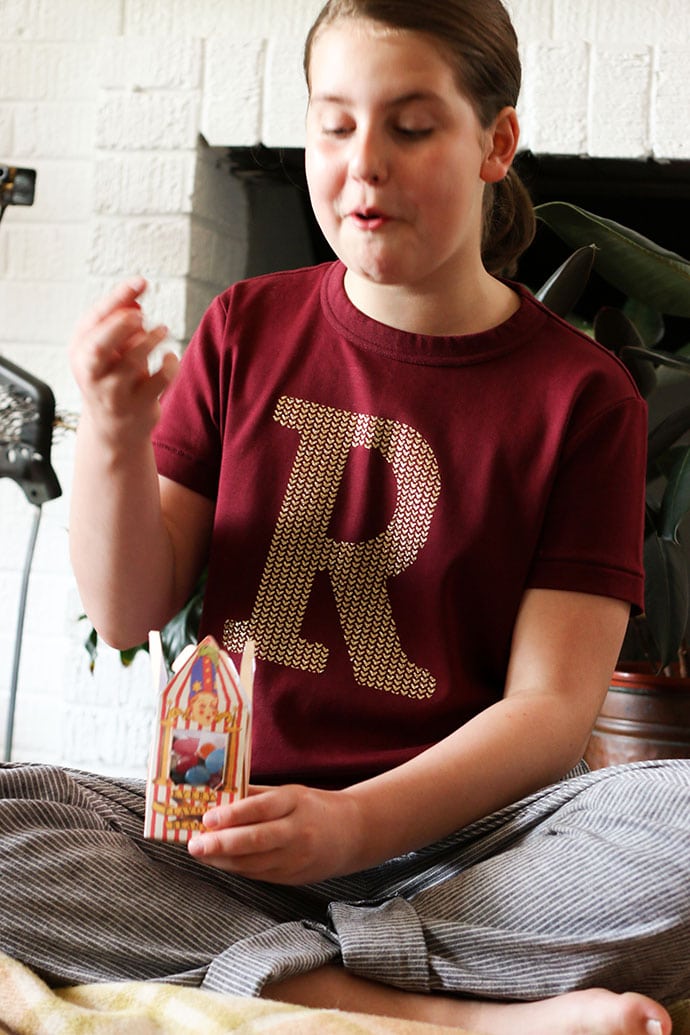
Emma insisted we get some jelly beans and do a photoshoot eating Bertie Bott’s just like Ron in the movie, Harry Potter and the Philosopher’s Stone.
Most of the photos ended up as out-takes because there were just so many weird Jelly Bean chewing faces!
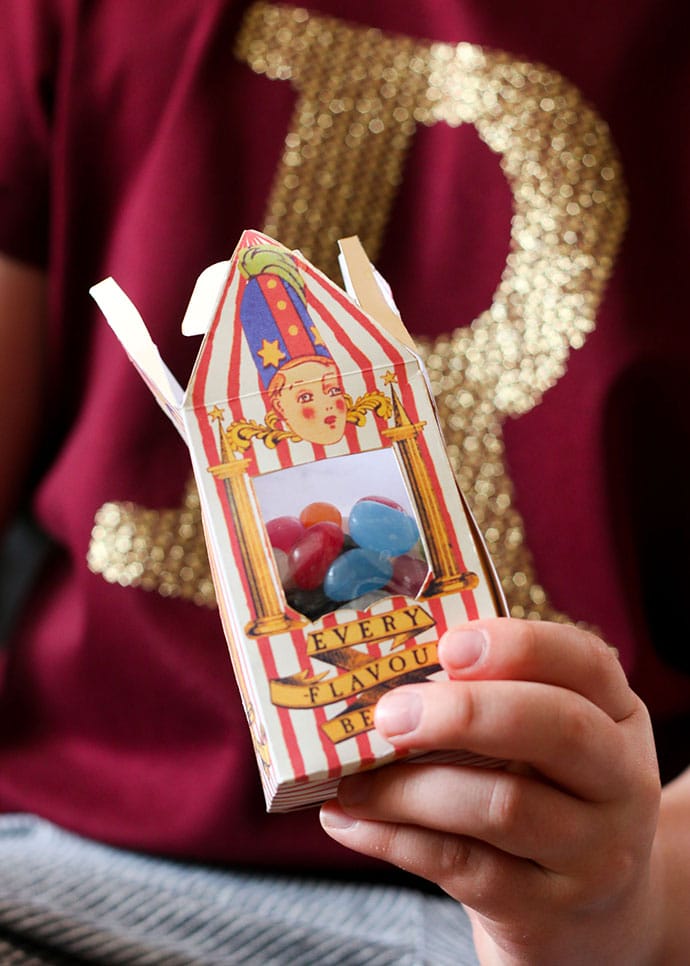
I made these cute Bertie Bott’s boxes as party favours for Emma’s Party. We kept a few for photoshoot props, and Emma displays them in her room. You can make your own by using the template at the bottom of this page.
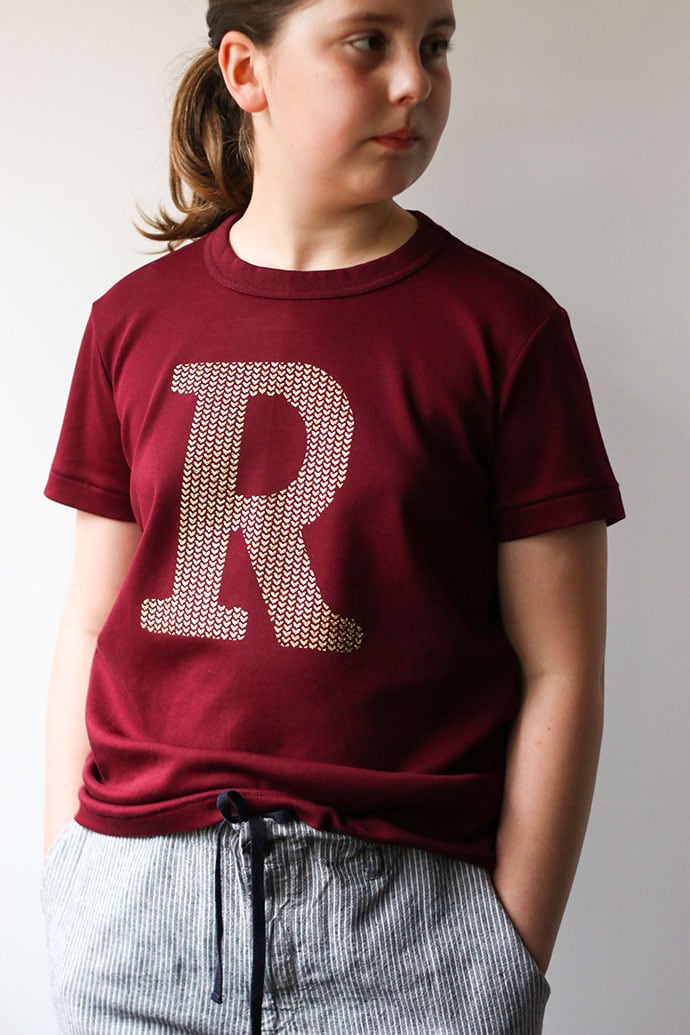
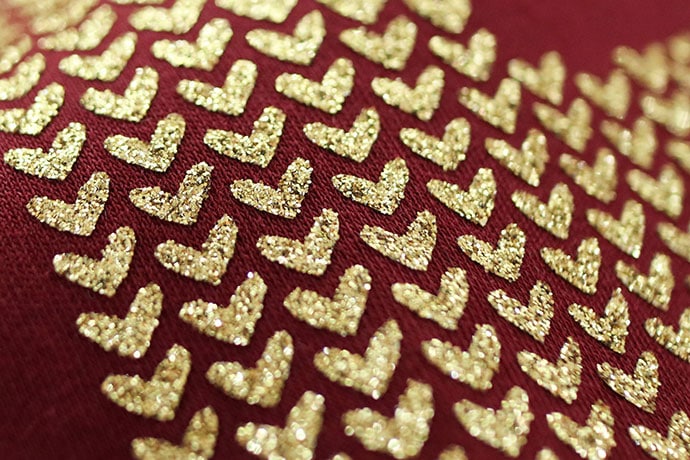
The glittery sparkle of the iron-on glitter vinyl is hard to capture in photos, but you can really see how it shines in the photo above.
A DIY Weasley Sweater T-shirt and Box of Jelly Beans combination, would really make a fun Christmas gift for any Harry Potter fan.
Add these projects to your homemade gift list this year.
Let’s Make a ‘Weasley Sweater’ inspired T-shirt
In this tutorial I’ll show you how to create your own custom knit textured Weasley Jumper initial in Cricut Design Space and how to apply glitter heat transfer vinyl onto a t-shirt or sweatshirt.
What if I don’t have a Cricut Cutting machine or Easy Press Iron?
I’ve had some feedback from readers mentioning they can’t afford to invest in some of the more expensive Cricut tools right now. I totally get that, I received my Cricut Maker as a gift, and though I absolutely love it, it is a big investment that I would think twice about if I were to purchase it myself.
You can still make this project! – I’ve got a few ideas for adapting this project on a budget.
- Trace your letter onto iron-on vinyl of your choice, cut it by hand and iron on with a regular household iron. This flocked iron-on vinyl from Expressions Vinyl would look super cool and is under $5 a sheet. You’ll have a solid letter, not one with a knit pattern, but the idea is the same.
- Make an iron-on fabric applique using the basic steps from this applique tutorial. You can sew around the edges if needed.
- Make a stencil with freezer paper and paint on you letter. Follow the instructions in this freezer paper stencil tutorial.
How to design a custom Weasley Sweater Letter Initial in Cricut Maker Space
Before you fire up your cutting machine or warm up your heat press, you’ll need to make your custom letter design in Cricut Design Space.
If you are happy to use Ron’s ‘R’, just go ahead and use this project – Weasley Sweater R – and you can skip straight to the next section of the tutorial. It’s 8″ tall, so if you are happy with that size, just hit the ‘Make it’ button.
Want to make a knit pattern iron-on design in a different letter?
Of course you could go ahead and just cut out a solid letter in the font style of your choice, but if you want that real knit effect I think the knit stitch pattern I’ve created looks pretty cool.
I’ll walk you through the design steps with required to change the design to another letter if you don’t want to use an ‘R’. I’ve made a video as well as step-by-step photos to explain the process.
You will need:
- Cricut Design Space account (free to sign up)
- Cricut access subscription (optional)
- Computer, ipad or smart phone
Tip: Some elements and fonts in the design space have to be purchased, but if you sign up for the ‘access subscription’ (there is a 30 day free trial period), nearly everything is included for unlimited use.
Let’s Get Started!
1. Open ‘Weasley Sweater Customizable Letter’ project in design space and click the ‘customize’ button.
2. Double click on the letter R to bring up the ‘text box’ to change the initial. You can adjust size and font if desired.

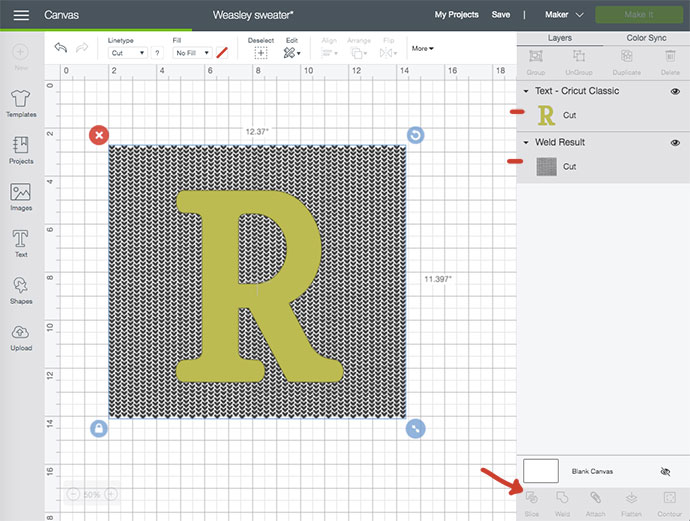
3. Drag letter over knit stitch pattern. Make sure to align it to capture as many full stitches as possible. Select both layers and click ‘Slice’.
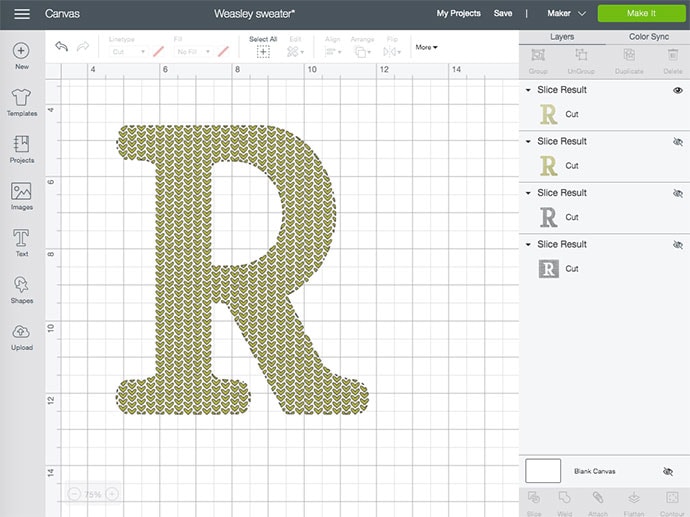
4. Remove all unwanted layers that have been created, leaving top ‘slice result’
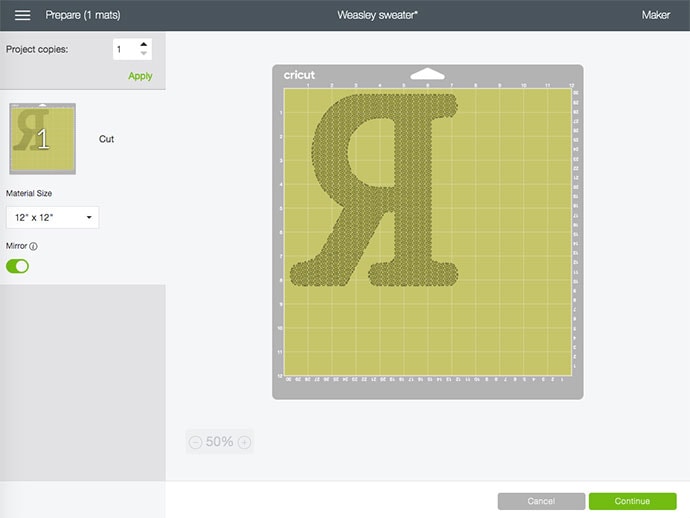
5. Click on ‘Make it’ to set up your mat. Make sure you select ‘mirror’ for iron-on vinyl.
Here’s a video of my screen in design space of the steps described.
How to make your own Weasley Sweater’ T-shirt with Heat Transfer Vinyl
Time to make your own Weasely Sweater!
You can use either a t-shirt, or a fleecy sweatshirt (if the weather is chilly where you are). I picked up the perfect (almost new) maroon coloured t-shirt at a thrift store for only $3 which inspired this whole project.
Consider buying pre-loved garments at your local charity shop, before purchasing new.
Whether you are using an new or pre-loved garment, you must always pre-wash without fabric softener for best results.
I chose to use gold glitter iron-on to add some bling, but regular dark yellow, or even gold metallic iron-on would work great for this project too.
This flocked iron-on vinyl from Expressions Vinyl would look super cool and is under $5 a sheet.
The knit stitch pattern design is quite fiddly to weed, but has the advantage of making the design stretchy, so it’s great for flexible fabrics, and won’t crack or peel like large areas of vinyl possibly could.
You will need:
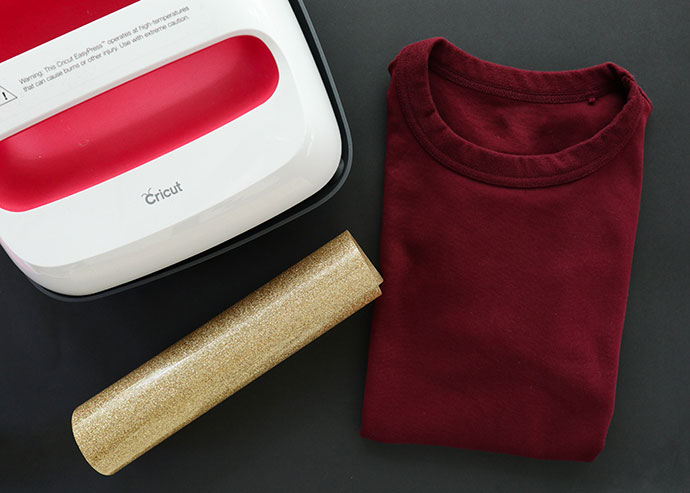
- Maroon T-shirt blank pre-washed, without fabric softener
- Cricut cutting machine with fine point blade (Amazon US | Cricut)
- Cricut Glitter Iron-On vinyl (Amazon US | Cricut)
- Cricut Design Space account (free to sign up)
- Cricut access subscription (optional)
- Computer, ipad or smart phone
- Cricut Standard Grip mat (Amazon US | Cricut)
- Cricut basic tool set (Amazon US | Cricut)
- Cricut Easy Press 2 (Amazon US | Cricut) or regular iron
- Cricut Easy Press Mat (Amazon US | Cricut)
How to cut and iron-on glitter vinyl:
1. Measure the desired size of your letter by measuring the t-shirt. I chose 8″ tall x 7″ wide.
2. In design space adjust the size of your selected letter, or customize your letter using the steps described in the video above.
3. Click on ‘Make it’ to set up your mat. Make sure you select ‘mirror’ for iron-on vinyl.
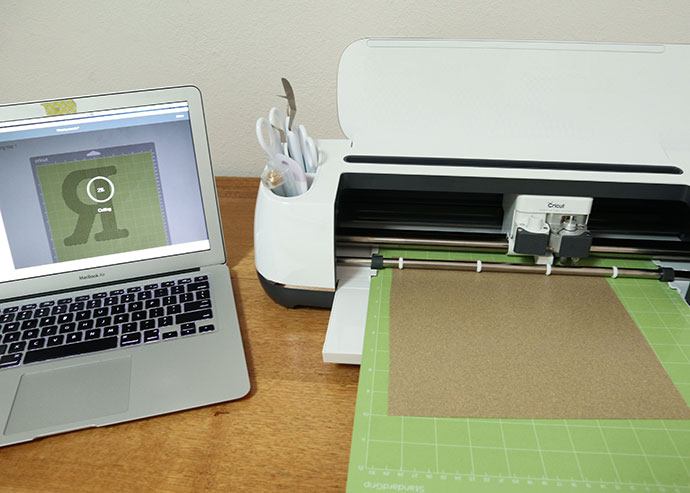
4. Place required sized piece of glitter vinyl on grip mat shiny side down. The dull surface is the heat sensitive glue hence the need to reverse the image. Follow the instructions in maker space to cut the vinyl.
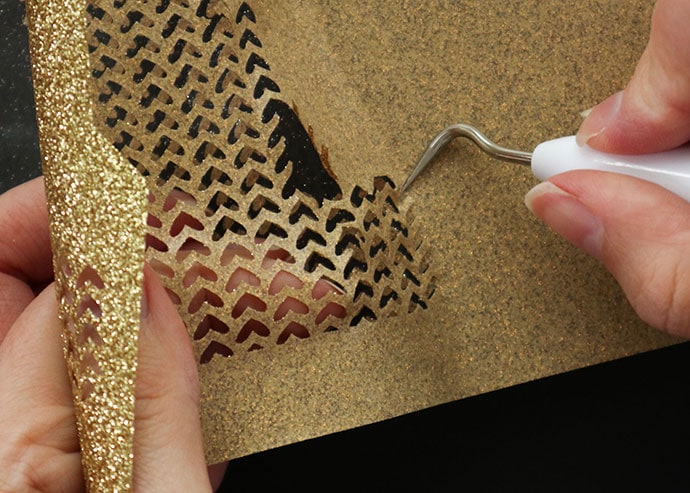
5. Once cut, remove from mat and carefully weed any unwanted vinyl.

Tip: You’ll need to use the weeding tool to hold down the little stitch pieces in place as you peel the excess vinyl. I’m not going to lie, this process is fiddly and time consuming. The small details cut from glitter vinyl have a tendency to move around, so be careful you aren’t losing any of the ‘knit’ stitches.
DON’T DROP A STITCH! Hahaha
6. Scrape off any really small pieces around the edge of the letter to neaten up the design.

7. Your iron-on is ready to work with. Set aside for now.
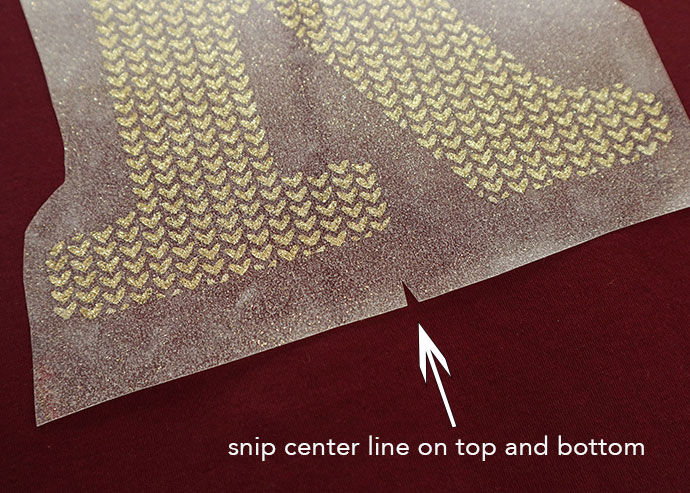
Tip: Measure center and snip a mark in the top an bottom to help line up your design later.
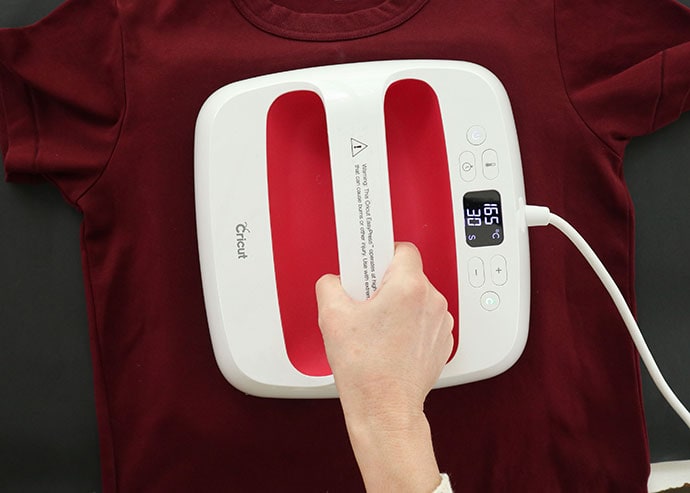
8. Time to prepare your garment for the heat press. Plug in and warm up your Easy Press 2 and select temperature according to the instructions on the Cricut Heat Guide. The site will tell you the correct temperature setting and how long to press for. My t-shirt was 100% cotton, so the heat setting was 165C for 30sec.
9. Set your Easy Press to required temp and time. If you are using a regular iron you may need to estimate the temperature and count out the time yourself.
10. Place t-shirt over Easy Press Mat (or towel) and preheat t-shirt surface for 5 seconds and then place your vinyl cutout. Make sure it is centered.
Tip: Use tailors chalk to make the center line of your garment, and approximate location for placement. This makes your iron-on easy to line (thanks to the snips in the carrier film) up when the design is ready for pressing.
11. Iron on vinyl as instructed for 30sec, then flip and press for a further 15sec on back.
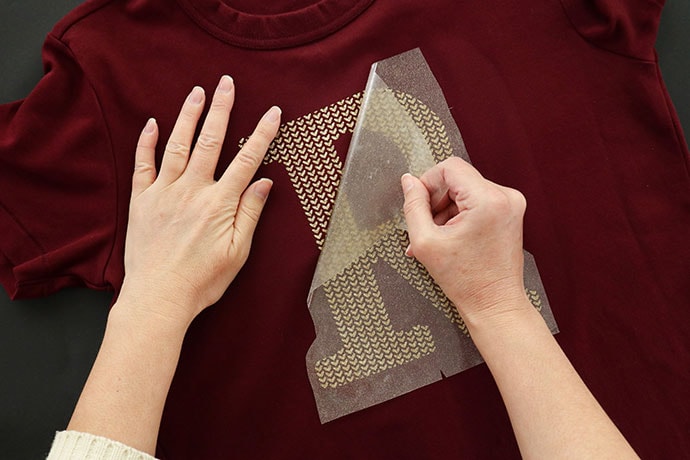
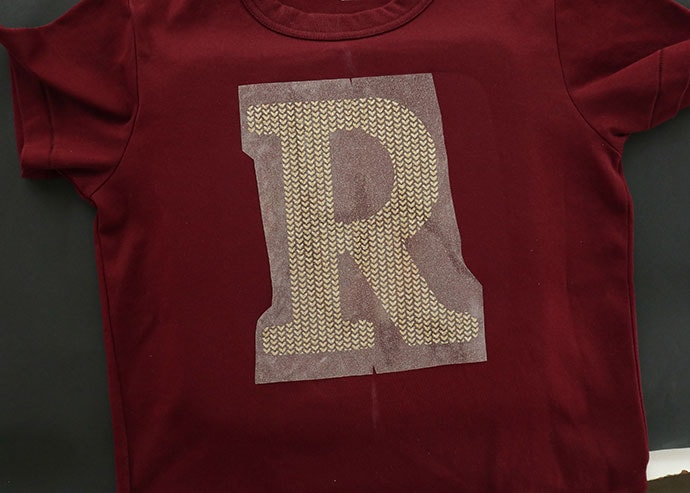
12. Gently peel the carrier sheet once cooled. So sparkly!
Your Weasley Sweater t-shirt is ready to enjoy!
I hope I’ve inspired you to fire up your Cricut cutting machine and transform a plain old sweatshirt or t-shirt into a wearable Harry Potter inspired garment that Molly Weasley would be proud of.