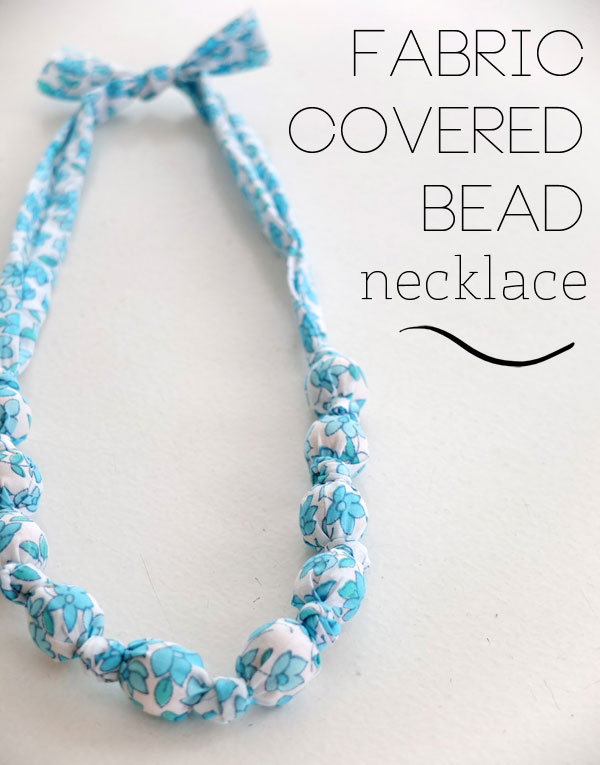
If you are looking for an easy to make kid friendly craft that makes a great gift, I recommend trying this Fabric Covered Bead Necklace DIY craft project. The resulting fabric necklaces are very elegant and would be a welcomed gift by all recipients, including tweens, teens and adults.
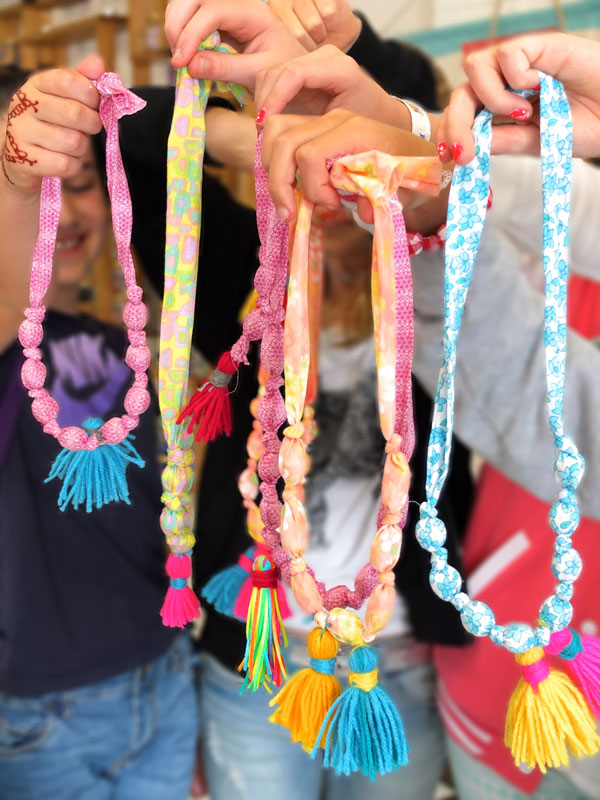
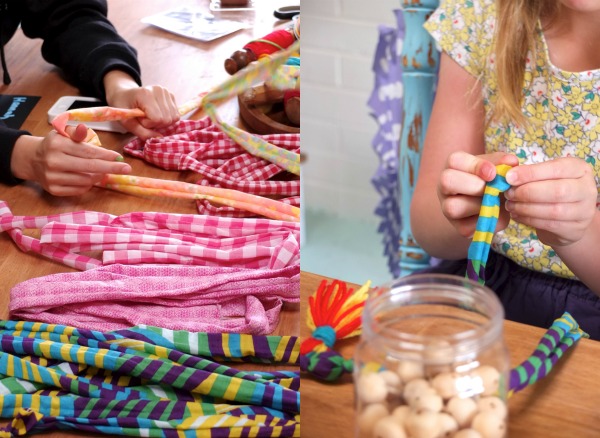
It’s school holidays here in Victoria and I recently ran a couple of school holiday workshops teaching kids (and adults) how to make and embellish some pretty fabric knotted necklaces.
These necklaces are fun to make and you can choose fabrics to co-ordinate with your favourite outfits. We had a ton of fun making tassels to hang off the bottom, and the workshop attendees did a great job of designing their own necklaces.
This DIY Fabric Necklace post contains affiliate links
With a little pre-sewing preparation, school aged kids can make these without much assistance. If you want to have a go at making your own, read on for instructions…
You will need:
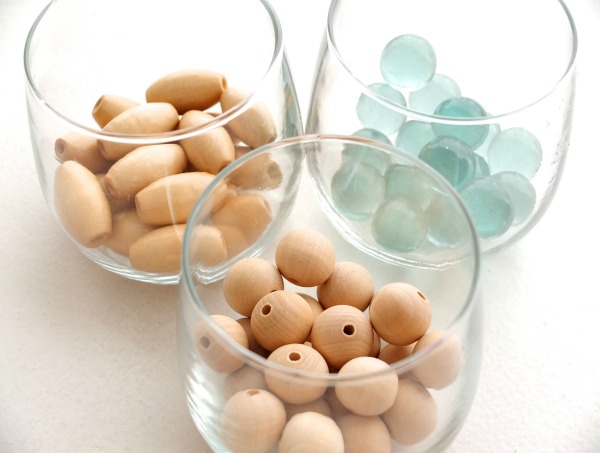
- Wooden Beads or Marbles (about 10 should do)
- Light weight cotton fabric about 150cm (60″) long and wide enough to wrap around your bead plus 2cm (1″)
- Safety pin or tube turning tool
- Sewing machine
- General sewing supplies
- Optional – Tassels or yarn for tassel making
How to Make a Fabric Covered Bead Necklace
To make fabric tube:
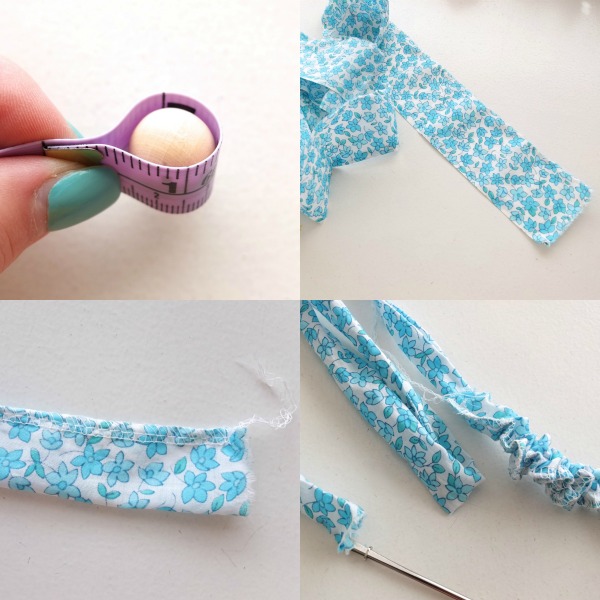
1. Measure the circumference of the beads you would like to use and add extra for seam allowances ( 2x seam allowance). This will be the width to cut the fabric strip.
2. Cut your strip. The longer your strip, the longer the necklace will be. Because we are knotting, every knot you add will shorten the length of the fabric tube. If you want an extra long necklace you can add less beads or make your fabric tube longer by sewing two long pieces of fabric together.
3. Fold fabric lengthwise, wrong sides facing and sew along long edge. I’ve used an overlocker (serger) but straight stitch is just fine.
4. Turn tube inside out with a safety pin. I use this method – instructions here
Adding beads to necklace
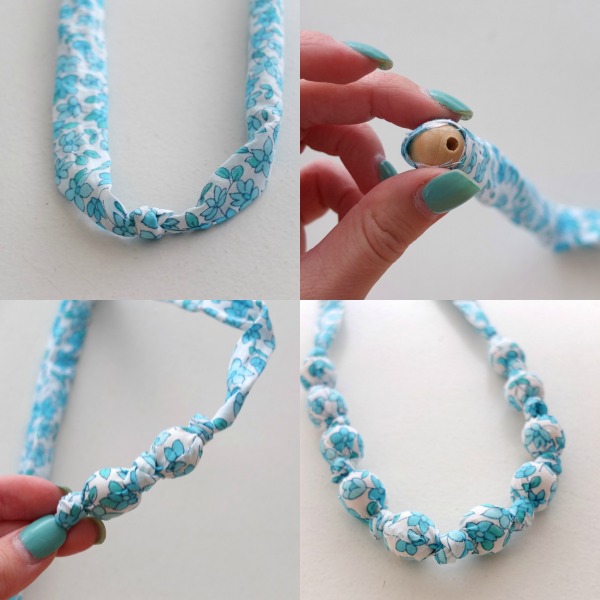
5. Measure the center of fabric tube and tie a knot.
6. Working evenly on each side, feed beads down the tube.
7. Twist fabric slightly and tie a knot close to bead.
8. Repeat until you are happy with the amount of beads in your necklace.
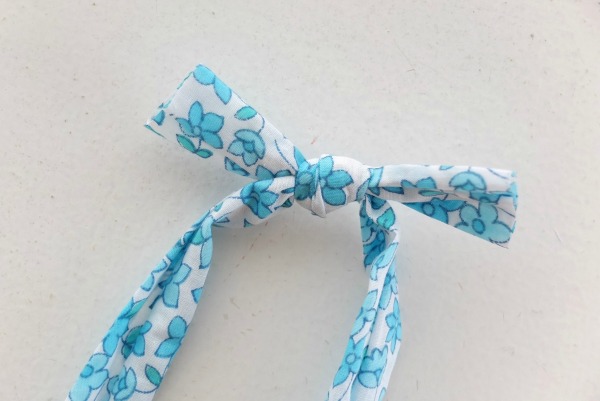
9. Tie a knot to fasten and trim ends. Alternatively you can stitch ends together for a neater finish.

Here I’ve made one with wooden beads (blue floral) and another with marbles (purple). You can see that the marbles are heavier and make the necklace hang more sharply than the wooden beads.
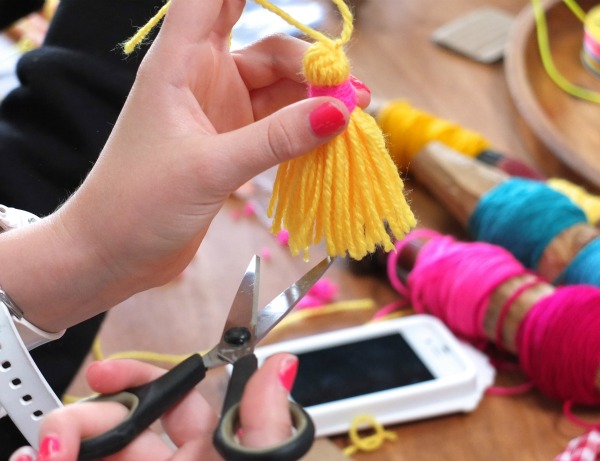
If you’d like to add some tassels to your fabric bead necklace, you can find great tassel making instructions over here. We made lots in the workshop but I didn’t have time to photograph the steps.
Tip: To fasten the tassel inconspicuously, attach before step 5 and tie a knot over the yarn knot.
These fabric necklaces make fun gifts for kids, teens or adults. They are an easy handmade gift that kids can make for Mother’s Day, or you may want to add some to your handmade Christmas list.
More Gift Ideas that Kids can make:


LOVE, Love, love these fabric-covered bead necklaces . . . in 9 easy steps in your tutorial, Cintia! Clever idea and soooooo UNIQUE. Fab project for young girls to create for gifts. I plan to forward to a couple nieces who sew & they can create several for their little girls. Maybe I’ll make several for birthday gifts, too. Thanks for sharing. Sarah in Minneapolis
Thanks Sarah
Thanks Anne
Thank you Kerstin. It’s so pretty, enjoy wearing it.
Great idea! I’m positive the kids hat a lot of fun and wear their necklaces proudly. Thanks for sharing.
To eliminate the wrinkling around the beads, you can cut your fabric strips on the true bias. Silky polyester fabrics also work nicely for this craft. Instead of knotting between beads, you can use a bead with a large hole, like a pony bead, or even a metal hardware nut, on the outside of the fabric tube. I’ve made these for years. They also make fun bracelets.
Thanks for the tips, bias is a bit trickier to cut, but will certainly give better results.