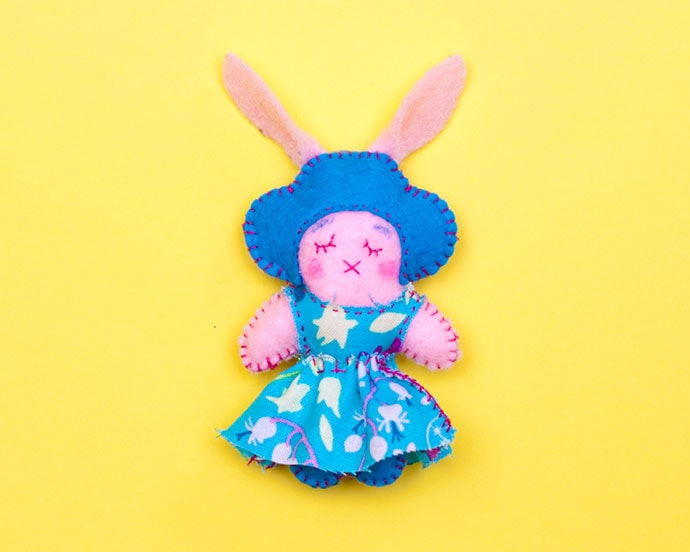
It’s the time of year where bunnies are hopping up everywhere, and it’s understandable because they are just so dang cute! Today I’m showing you how to make a Mini Bunny Doll, a fun little Easter craft project that makes the perfect little Easter gift or decoration.

This Easter craft post contains affiliate links
Fun to make from just a few felt scraps this cute bunny doll was inspired by a book from my childhood.
When I was a little girl one of my favourite picture books was The Big Bunny and the Magic Show. It was ordered from a book club catalogue in the lead up to Easter. I so adored this book. For me it was about the moody illustrations.
After reading this book I developed empathy for the adorable, but weary Easter Bunny, whom wanted a new career and was infuriatingly sabotaged by his friends (Really? I know!).
The book stealthily disappeared from my bookshelf, along with childhood. Nonetheless, a warm place in my heart persists for both the Easter Bunny and this book. After all, how could I not love an animal that leaves edible brown plops around the house?
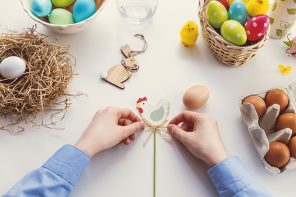
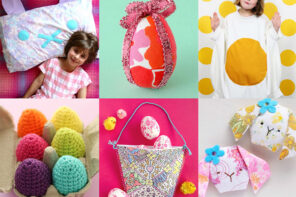
Here’s some other Easter Bunny Craft Projects you may enjoy:
How to make a Mini Bunny Doll
You will need:
- Felt sheets or scraps – peach for body and bright colour for hair
- Cotton fabric scraps
- Sewing Thread – contrasting colour
- Hobby fill or fiber for stuffing
- Sewing Needle
- Scissors – both paper and fabric
- Fabric marker pen
- Haemostat or tweezers
- Dressmakers pins
- Marker pens
Note:
You may wish to turn this bunny doll into a brooch or charm. In which case just sew a safety pin onto the back to make a brooch, or add a small elastic loop into the top of the head to make a hanging charm.
You could give the bunny doll a home, by pairing it with another gorgeous My Poppet project – Le Papier Apartment Printable Paper Doll House.

How to:
1. Print template at 100% and cut out the pattern pieces.
2. Place the pattern pieces into three colour groupings. Hair and shoes together; Shirt and skirt together; Body and ears together.
3. Lay the pattern pieces on the felt sheets and draw outlines, as per the pattern notes.
4. Cut out the felt pieces.

5. Lay the shirt, hair and shoes on the two body pieces and stitch along the inside edges as per the illustrated reference guide.


6. Sew the facial details, using a plain stitch. Refer to the body pattern piece reference.

7. Mirror the ear pieces next to each other and fold closed. Stitch the two ears closed at the base.

8. Layer the body pieces together (right sides outward), and pin. Blanket-stitch (or whip stitch) along the outside edge of the body. Keep the top of the head open.

9. Stuff the body with hobby fill. Using a haemostat or tweezers will make the job so much easier.

10. Slip the ears into the top of the head. Stitch the head opening closed.

11. Sew an ornamental leg division, with one long stitch looping at the base of the body.

12. Layer the skirt pieces together and blanket-stitch the sides together.

13. Run a plain-stitch along the top edge of the skirt. Then gently pull the thread, gathering the skirt.

14. Slip the skirt onto the body. Tie off the gathered thread ends. Stitch the skirt onto the body, feeding the needle through the entire body. Now your doll is complete.

15. You can add some colour to the face, using marker pens.
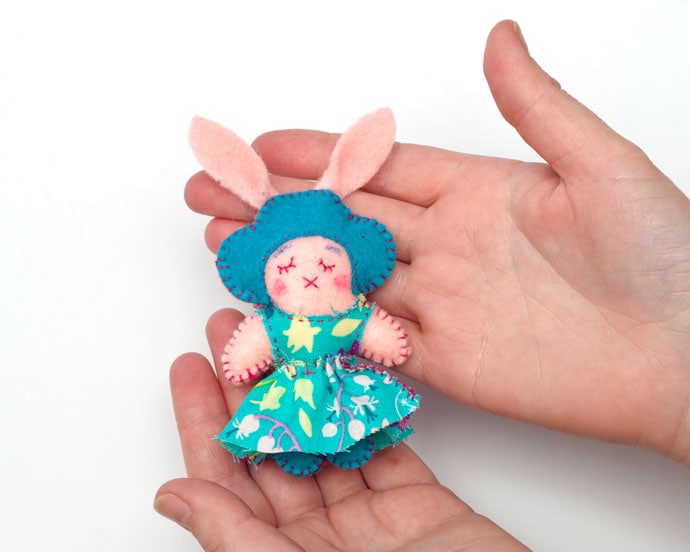

Doesn’t she look super cute! This mini doll fits right into a little pocket so she makes an ideal travel companion for playing on the go. What a fun Easter craft.


Thank-you for sharing this cute bunny pattern. I can’t wait to make her. I enjoy your blog posts. Have a beautiful day!
Thank you, Brenda!
Be sure to send through a photo when you are done. I would love to see what you come up with.